Pages

Wednesday, February 6, 2013

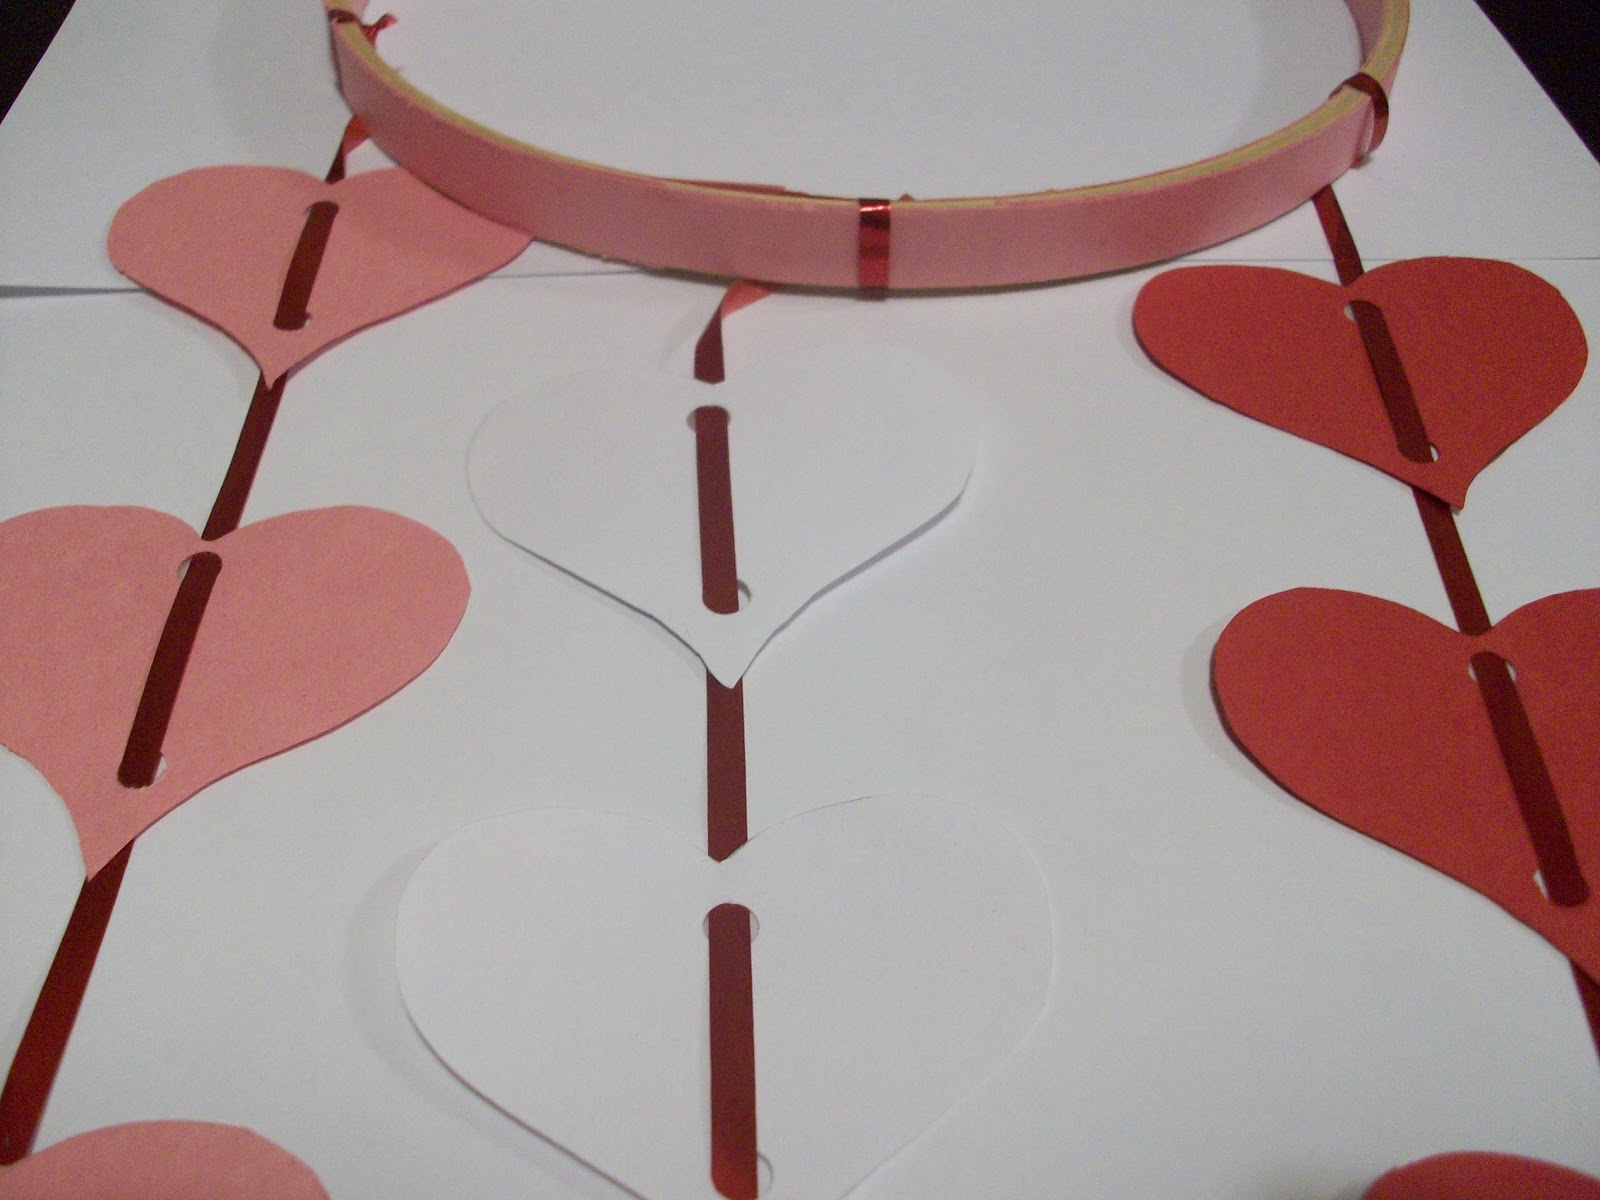
Paper Heart Mobile

I had all intentions of making a heart wreath to hang on the door when I started cutting out hearts but ended up making a heart mobile. This is a wonderful and EASY craft to make with your kids. Have fun and go crazy with colors and shapes! Have a Great Crafting Day!

Supplies needed:

Construction paper
Ribbon
Curling ribbon
Glue
Hole punch
Tape
Pencil
Scissors
Stencil or paper punch
Wood embroidery hoops

Directions:
Gather supplies.

Trace hearts and cut out hearts or use a paper punch. I cut out ten of each color.

Punch hole at top and bottom of all the hearts.

Cut strips of construction paper. You can skip this step if you want to keep the embroidery hoop natural.
Cover embroidery hoops. I used tape to adhere the paper to the hoop.

Cut curling ribbon about 12 inches long. I cut six ribbons.

Knot curling ribbon around hoop. Thread hearts (or the shape you chose) onto curling ribbon. Tape back of heart (see next picture to see where to tape) so they do not slide. Space them about 1-1 1/2" apart. Keep threading hearts until all are on. I threaded 5 shapes on each string. Make a knot after the last heart on each string is threaded. Curl end of  ribbon.

Tape here on backside so heart does not slide. I would use clear tape so you can't see the tape, but I didn't have any on hand.

Cut ribbon long enough to hang mobile up. Knot around hoop. Then make knot on opposite side.

Hang up and enjoy!

Tortilla Cheddar Chicken

Tortilla Cheddar Chicken

Ingredients
1 6 ounce container of organic Greek yogurt
1 tablespoon snipped chives
2 teaspoons organic garlic paste
1/2 teaspoon ground ancho chile
1 pound boneless skinless chicken breast fillets (thinly sliced) (about 5 fillets)
1 cup finely crushed tortilla chips
1 cup cheddar jack or Mexican blend cheese
1 lime, cut into wedges

Directions
Gather ingredients.

Preheat oven to 425 degrees. Stir together yogurt, chives, garlic paste, and  ground ancho chile in shallow bowl.

In second bowl stir crush tortilla chips and cheese together.

Coat both sides of chicken fillet with yogurt mixture.

Coat both sides of chicken fillet with chip and cheese mixture. Press slightly so mixture adheres to chicken fillet.

Place chicken fillets in baking pan. Bake at 425 degrees for 11 to 13 minutes or until golden brown.
Serve with lime wedge to squeeze over chicken. I also served Mexican rice as a side dish.

Enjoy! Have a Great Cookin' Day!

Monday, February 4, 2013

Scrapbook Fridge Photo Magnets

If you are anything like me then your fridge is covered in photos, art work, and notes. In general my fridge always looks like a disorganized mess. The mess on my fridge is mostly picture postcards from family and friends that announce graduations, save the dates, new babies...you get the picture! I could have taken the easy way out and went to the store to buy ready to make photo frames, but I am determined to use up (but not just on this craft, that would be a lot of frames) the hundreds of scrapbook paper, stickers, and scrapbook chipboards I have just sitting in a box in our spare bedroom (I planned on scrapbooking but never actually got around to it). This was a pretty easy craft and I hope this helps the fridge look less cluttered because I plan on making more photo frames for different seasons and holidays. Since it so close to Valentines I chose scrapbook paper to match the holiday. Have fun creating your own fridge photo magnets! Have a Great Craftin' Day!

Fridge Photo Magnets:
Supplies Needed:
Scrapbook paper
Scrapbook chipboard letters, stickers, and other scrapbook decorations
Frame for template (I bought this one for $0.97)
Xacto knife (*Warning* Very sharp use with caution)
Pencil
Scrapbook paper glue
Magnet Strips (I got these at Hobby Lobby for $2.99 - my 40% coupon)
Scissors
Foam Board (again I got at Hobby Lobby)
Sandpaper  (not pictured)

Directions:

Gather supplies.
Pick scrapbook paper you want to use for frames.


Coordinate your decorations to your scrapbook paper.
Use frame as a template and trace pattern onto back of scrapbook paper.

Cut out frame. Tip to cut center: Make an X with Xacto knife then cut center.

Use frame to trace pattern onto foam board.
Use Xacto knife to cut frame from the foam board. Tip: Trace outline with Xacto knife around pattern, then go back around all the way through. Be careful with knife it is  very sharp. Do not worry about rough edges.


Glue paper to frame. Smooth out any bubbles. Let dry then trim excess edges. Do not worry about being exact.


Sand rough edges with sand paper.

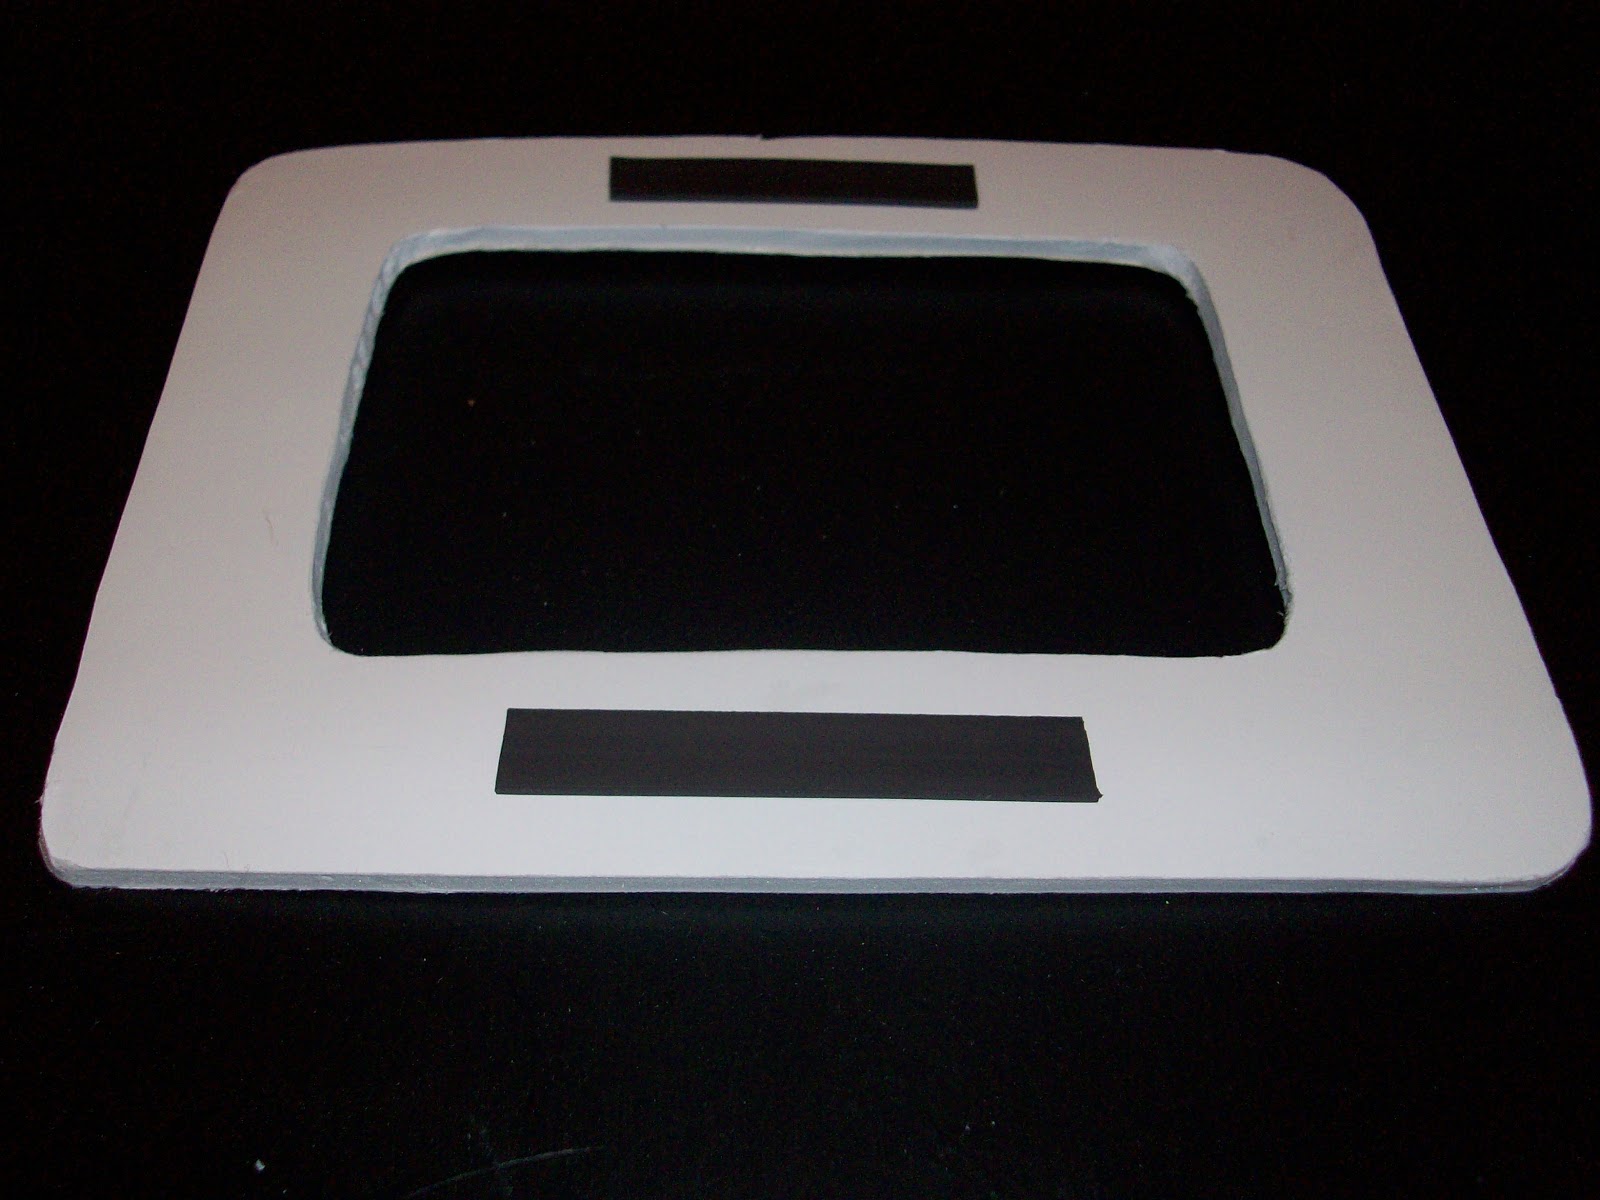
Cut strips of magnets and attach to back of frame. I only put a magnet strip on top and bottom, but you can put them on all four sides.

The fun part...Decorating!

Hanging on the fridge (I cleaned my fridge off so no one would see my clutter).

Close up of completed frame.

This one I did not decorate, the roses were enough decoration!

Last frame I made.


Sunday, February 3, 2013

Cilantro Turkey Burgers

Last summer I came across a cilantro ground chicken with avocado recipe and decided to try it at a cookout at my sister in law's house. I couldn't find ground chicken so I substituted turkey for chicken. Other than that change I followed the recipe to a T. The burgers were terrible...the recipe had way too much of each ingredient! Since no one ate their turkey burgers after a bite or two, it was a good thing that we had also cooked cheddar wursts for the kids or we would have went hungry. There was no way I was going to make these again. Wrong!

About a month later I looked at the recipe and thought maybe I can tweak the recipe. This time I used the ground chicken, changed the amounts of the ingredients,and minus the avocado. My husband fired up the grill as I was following the recipe (again!) and got to grilling. They were terrible again...ground chicken on the grill is not a good thing. The ground chicken burgers on the grill were dry and crumbly. They were so bad that we had to throw them out.

I was being stubborn about this recipe so I sent Andy to the grocery store to get ground turkey instead of ground chicken. When he got back from the store, told me "this is the last time you are trying to make these", I threw the turkey in a bowl, added the ingredients sans the avocado (hubby doesn't like avocado), and cooked them on top of the stove. After they were done cooking we put the turkey burgers on a whole wheat bun, added a little ranch dressing, and topped it with romaine lettuce. Oh My Goodness! The burgers came out so flavorful and juicy they melted in our mouths. Andy ate three of them in one sitting and I knew then that I had a hit on my hands!

Since my first horrible attempt at these burgers this recipe has become a favorite meal in our house.

I hope you enjoy my Cilantro Turkey Burger recipe! Have a Great Cookin' Day!

Cilantro Turkey Burger Recipe

Ingredients:
1.25 pounds of ground turkey
1/4 cup of chopped cilantro (I use Gourmet Garden organic cilantro paste and the measurements are the same as fresh chopped cilantro)
1/2 tablespoon low sodium soy sauce
1/2 tablespoon garlic (I use Gourmet Garden organic garlic paste, just easier to use)
1/2 teaspoon  ground ginger
1/2 teaspoon pepper
Fresh lime juice (optional) (I forgot the limes)
Whole wheat buns
Romaine lettuce
Ranch dressing (optional)

Directions:
Gather ingredients needed to make Cilantro Turkey Burgers.

Don't forget any ingredients like I did.

Mix ingredients together.

Make patties. With the 1.25 pound package we make six, but that is a guide not a rule, we just like ours turkey burgers thicker.

Cook turkey patties on medium heat. Cook until turkey juice runs clear, about 10 minutes depending on your stove.


Top Cilantro Turkey Burger with romaine lettuce and ranch dressing. We usually serve with fresh (or frozen when we can't get veggies from our farmers market) vegetable mix of zucchini, yellow squash, green beans, red peppers, corn, and asparagus that we cook in olive oil and sprinkle with a steak seasoning or sea salt. Enjoy!


Friday, February 1, 2013

Valentine Ice Cream Cone

I must be in a Valentine kind of mood because here I am sharing another kid friendly Valentine craft I did today. Originally I was going to do a Valentine Heart Cone Tree but changed my mind. I was ready to glue the first heart to the "cone" and ice cream popped into my head. I must have been craving ice cream because all of a sudden I had a different vision for my "cone". So thanks to I Gotta Create for the Valentine Heart Cone Tree for the cone idea!

Supplies needed:
Scrapbook paper or construction paper
Scissors
Scotch tape
Glue stick
Heart paper punch (if you don't have one no big deal)
Hole punch
Ribbon or yarn


Cut paper with an arch.

Roll paper into cone and tape seam.
Pick out paper for your hearts.

Cut hearts. I made mine about 1 1/2 inches down and across, that is just a guide not a rule!  Arrange in order to glue to cone.

Glue hearts to inside top edge of cone.

Glue as many layers of hearts as you want. I stopped at 3 layers. For a finished look glue hearts inside so you don't see the back of the scrapbook paper hearts.

Punch two holes and thread in your ribbon or yarn to make a handle. Tie a knot at each end of ribbon or yarn. I threaded mine to have the knots inside the cone.


Your Valentine Ice Cream Cone is ready to hang. You can hang on a door knob or hang from a shelf or use it to put flowers in.


I hope you enjoy this Valentine craft! Have a Great Craftin' Day!


Thursday, January 31, 2013

Mosaic Heart Lollipop

 
Cut out Heart
I was bored on this cold winter day and thought to myself I will come up with another fun Valentine craft  to do with my niece "Agent L" and my nephew "E-Man, so I got out my jumbo construction paper pack, glue stick, and scissors and got to cutting.  Since it is close to Valentine's Day I did the obvious and cut a big heart out of white construction paper. I stared at the blank white heart for about 15 minutes thinking "What now?"  "What to make?" "Nope, don't want to do that." And then "Ding, Ding, Ding!" Finally after raking my brain and coming up with a bunch of boring ideas like a paper lace heart, I got the idea of a Mosaic Heart Lollipop while flipping through the different colors of construction paper.

I jumped up out of my chair to dig out my paper cutter and got to cutting different shapes. Since I wanted to keep the mosaic design simple I only cut three shapes: rectangles, squares, and triangles. After cutting all the shapes I laid them on the heart moving them around until I found a pattern I was happy with. I got my glue stick and started gluing the rectangles, squares, and triangles to the white heart. Lastly, I cut a lollipop stick and glued it to the back of the heart.  

All the Shapes Cut

This is a definite craft to do with "Agent L" and "E-Man" since there are many shapes to use as the "Lollipop" such as a circle, square, or your own free-form shape. Total time I spent on this was about an 1 1/2 hour, not including my 15 minute brain freeze.
 
Here is a time saver tip if you are going to do this craft with younger children: Pre-cut your shapes to and you won't have a youngster squirming while you get the shapes ready to glue.
 
Supplies needed to make a Mosaic Heart Lollipop:
Construction paper
Glue Stick
Scissors
Paper cutter (helpful time saver but not necessary)

Have a Great Craftin' Day!


Laying Out Mosaic Design


Gluing The Shapes


Finished Mosaic Heart Lollipop