Pages

Friday, February 15, 2013

Tequila Lime Flank Steak Tacos

I have had this recipe card to make Tequila Lime Flank Steak with Arroz Verde* for about 2 years. I finally decided to try it today but as tacos and served with Lime Cilantro Rice**, so I went to my local grocery store to buy the ingredients I didn't have and then made a stop at a liquor store to buy a baby bottle of tequila. No point in buying a whole bottle when you don't need it! I was skeptical about this recipe because I wasn't sure how all the ingredients would mesh together, but surprisingly they worked well together especially as a taco. Enjoy and have a Great Cookin' Day!

Ingredients For Tequila Lime Flank Steak Tacos:
3 limes
6 garlic cloves, finely chopped (I cheated and used organic garlic paste)
1/2 cup packed fresh coarsely chopped cilantro leaves (again I cheated and used organic cilantro paste)
1/3 low sodium soy sauce
1/4 cup extra virgin olive oil
1/4 cup tequila
2 teaspoons crushed oregano (I used a little less than 1 teaspoon fresh chopped oregano)
2 teaspoons ground cumin
1 teaspoon ground black pepper
1 1/4 pound flank steak

Ingredients For Lime Cilantro Rice:
2 cups water
1 tablespoon butter
1 cup long grain white rice
2 tablespoons fresh lime juice
1/2 cup chopped cilantro ( I used 2-3 tablespoons cilantro paste)

Directions For Cilantro Lime Rice:
1. Bring water to a boil, stir in the butter and rice into the water. Cover or follow package directions, reduce heat to low, and simmer until the rice is tender, about 20 minutes.
2. Stir in lime juice and cilantro into the cooked rice just before serving.
Gather Ingredients.

Squeeze 1/2 cup juice. Use juicer if you have one.

Place juice in a large zip-lock bag. Then add garlic cilantro, soy sauce, olive oil, tequila, oregano, cumin, and pepper.

Cut flank steak into strips then into bite size pieces.

Place flank steak into mixture in zip-lock bag. Close bag, while closing bag squeeze air out of bag. Massage ingredients into steak to blend and cover it well. Place in fridge to marinate for at least 1 hour or up to 24 hours.

Heat up grill pan or if you have a Foreman Grill or equivalent heat that up. I used our Foreman Grill. Grill steak until desired doneness.

Place grilled flank steak onto serving dish.

Gather ingredients for Lime Cilantro Rice.


Cook rice as directed from above or follow your rice package directions. Then add lime juice and cilantro.
Serve on soft taco shell and add toppings. We only added a little sour cream and a sprinkle of cheese as to enjoy the flavors of the steak. Serve rice on taco or side. Enjoy!

 
*Original recipe for Tequila Lime Flank Steak credit goes to Schnucks Grocery Store.
**Link to original recipe for Lime Cilantro Rice from All Recipes.


Monday, February 11, 2013

Steak with Sweet Pepper Sauce

I came across this recipe in one of my many cook books* the other day and noticed that it is very similar to the Stouffer's Green Pepper Steak in the frozen food section. I'll admit that I have ate the frozen version, but after making this homemade version I never will again. This version is slightly different in that the sauce is not a "true tomato sauce" like the Stouffer's version, but I did not mind that as this recipe is very delicious.  There are several steps in this recipe, but it is not difficult to make. I hope you enjoy this recipe and have A Great Cookin' Day!

Ingredients:

2 medium green and/or red sweet peppers cut into thin strips
1/2 cup chopped onion (1 medium)
2 gloves garlic, minced (I cheated and used organic garlic paste)
1 tablespoon cooking oil
1 pound beef ribeye steak, cut 1/2 to 3/4 inch thick, or 1 pound beef tip sirloin steak, cut 1/2 to 3/4 inch thick
Salt (I used Sea Salt)
Black pepper
1/2 cup beef broth
1 tablespoon snipped fresh oregano or basil or 1 teaspoon dried oregano or basil, crushed
1 cup chopped, seeded tomatoes (2 medium)
Hot cooked rice (optional) (I used minute rice)

Directions:
Gather Ingredients

Chop green peppers into thin strips. Chop onion. Mince 2 garlic cloves. *I cheated and used garlic paste.

In large skillet cook peppers, onion, and garlic in hot oil about 4 minutes or until vegetables are crisp-tender. Remove vegetables with slotted spoon.
Trim fat off steak. Cut steak into strips then bite size pieces.  Season meat with salt and pepper. 

Place meat in same skillet (add more oil if necessary). Cook over medium-high heat about 4 minutes on each side or until desired doneness. Transfer the meat to a serving platter, reserve drippings in the the skillet. Keep steak warm. Also keep reserve drippings warm in skillet.

While meat is cooking snip fresh oregano and chop tomato.

For sauce add beef broth and oregano to reserved drippings. Bring to boil. Boil gently, uncovered over medium heat for 2 to 3 minutes or until broth is reduced to 1/4 cup, scraping up crusty browned bits in pan.

Stir in the cooked vegetables and tomatoes. Heat through.


Spoon over steak and rice. Enjoy!


*Side note this Steak with Sweet Pepper Sauce recipe is from my Better Homes and Gardens Cook Book 12th Edition.

Sunday, February 10, 2013

Windsock

About two weeks ago I made these windsocks with my niece and nephew, Agent L and E-Man (my nicknames for them). Paper windsocks are super easy to make, they only take about 5 minutes to put together. The best part is the decorating. They can be decorated for a holiday or season with stickers, markers, or crayons.  There are no rules to decorating, my nephew E-Man went buggy and covered his with some bug stickers I gave him and Agent L was in a lovey mood and went Valentine crazy. Have fun with this very kid friendly craft and have A Great Craftin' Day!

Supplies:
Construction paper (to cut shapes if you want)
Card stock paper (to make the tube since it is sturdier)
Party streamers
Stapler
Glue stick
Scissors
Pencil
Stencil (if you are cutting shapes)
Stickers (optional)
Markers or crayons ( I did not use any for this tutorial)

Directions:

Gather supplies


Roll paper longways overlapping about 1 -1 1/2 inches. Use glue stick to glue the overlap. Then staple each end.

Cut shapes out (optional)

Decorate cut out shapes (optional)


Decorate tube. There are no rules to decorating. Think of different seasons and holidays and other color combinations!

Cut streamers about 12" long. I chose 2 colors. Again not a rule, pick as many as you want!


Staple streamers to the inside bottom end of tube. I alternated the colors.

Cut a streamer about 10" long.


Fold streamer in half.
Staple streamer to inside top end of tube to make a handle. You can use this handle to hang it up.

 
Windsock all ready to hang. *I recommend hanging indoors


Friday, February 8, 2013

Chicken Pasta Verde

I told my husband this morning as I was leaving for work that I would cook dinner if he got the dishes washed before I got home. (Lucky guy he has every Friday and Saturday off.) He couldn't beat that deal and since he kept his end of the bargain, I cooked a new meal. A quick, easy meal that looks and tastes liked you slaved for hours in the kitchen. My husband Andy loved it so much that he ate 3 helpings. I think I see a future where Chicken Pasta Verde is going to be a regular visitor in our home.  Enjoy and Have a Great Cookin' Day!


Chicken Pasta Verde (Serves 6)

Ingredients:
1 box (1 pound) campanelle pasta
2 tablespoons extra virgin olive oil
1 -1 1/4 pounds chicken breast tenderloin cut into 1 inch pieces
1 large onion, cut in half and thinly sliced (about 2 cups) *I only used half of the onion
1 jar (33 ounces) of a Two-Step green chile stew
1/2 cup fresh cilantro leaves, coarsely chopped
1 1/2 cups crumbled queso fresco cheese, divided
1 lime, cut into 6 wedges (optional)

Directions:
1. Heat covered 5-to-6 quart sauce pot of salted water to boiling over high heat. Add pasta and cook as label directs. Drain pasta, then return to same sauce pot.

2. Meanwhile, in 12-inch skillet, heat oil over medium heat. Add chicken and onion and cook 7 to 8 minutes or until lightly browned, stir occasionally. Add chile stew and cook until mixture boils and chicken loses its pink color, stir occasionally. Pour stew mixture over pasta; toss until well combined. Add cilantro and half of cheese; toss to combine.

3. Divide pasta between each dinner plate. Sprinkle remaining cheese over pasta and serve with lime wedge (optional ) to squeeze over pasta.

Wednesday, February 6, 2013

Paper Heart Mobile

I had all intentions of making a heart wreath to hang on the door when I started cutting out hearts but ended up making a heart mobile. This is a wonderful and EASY craft to make with your kids. Have fun and go crazy with colors and shapes! Have a Great Crafting Day!

Supplies needed:

Construction paper
Ribbon
Curling ribbon
Glue
Hole punch
Tape
Pencil
Scissors
Stencil or paper punch
Wood embroidery hoops

Directions:
Gather supplies.

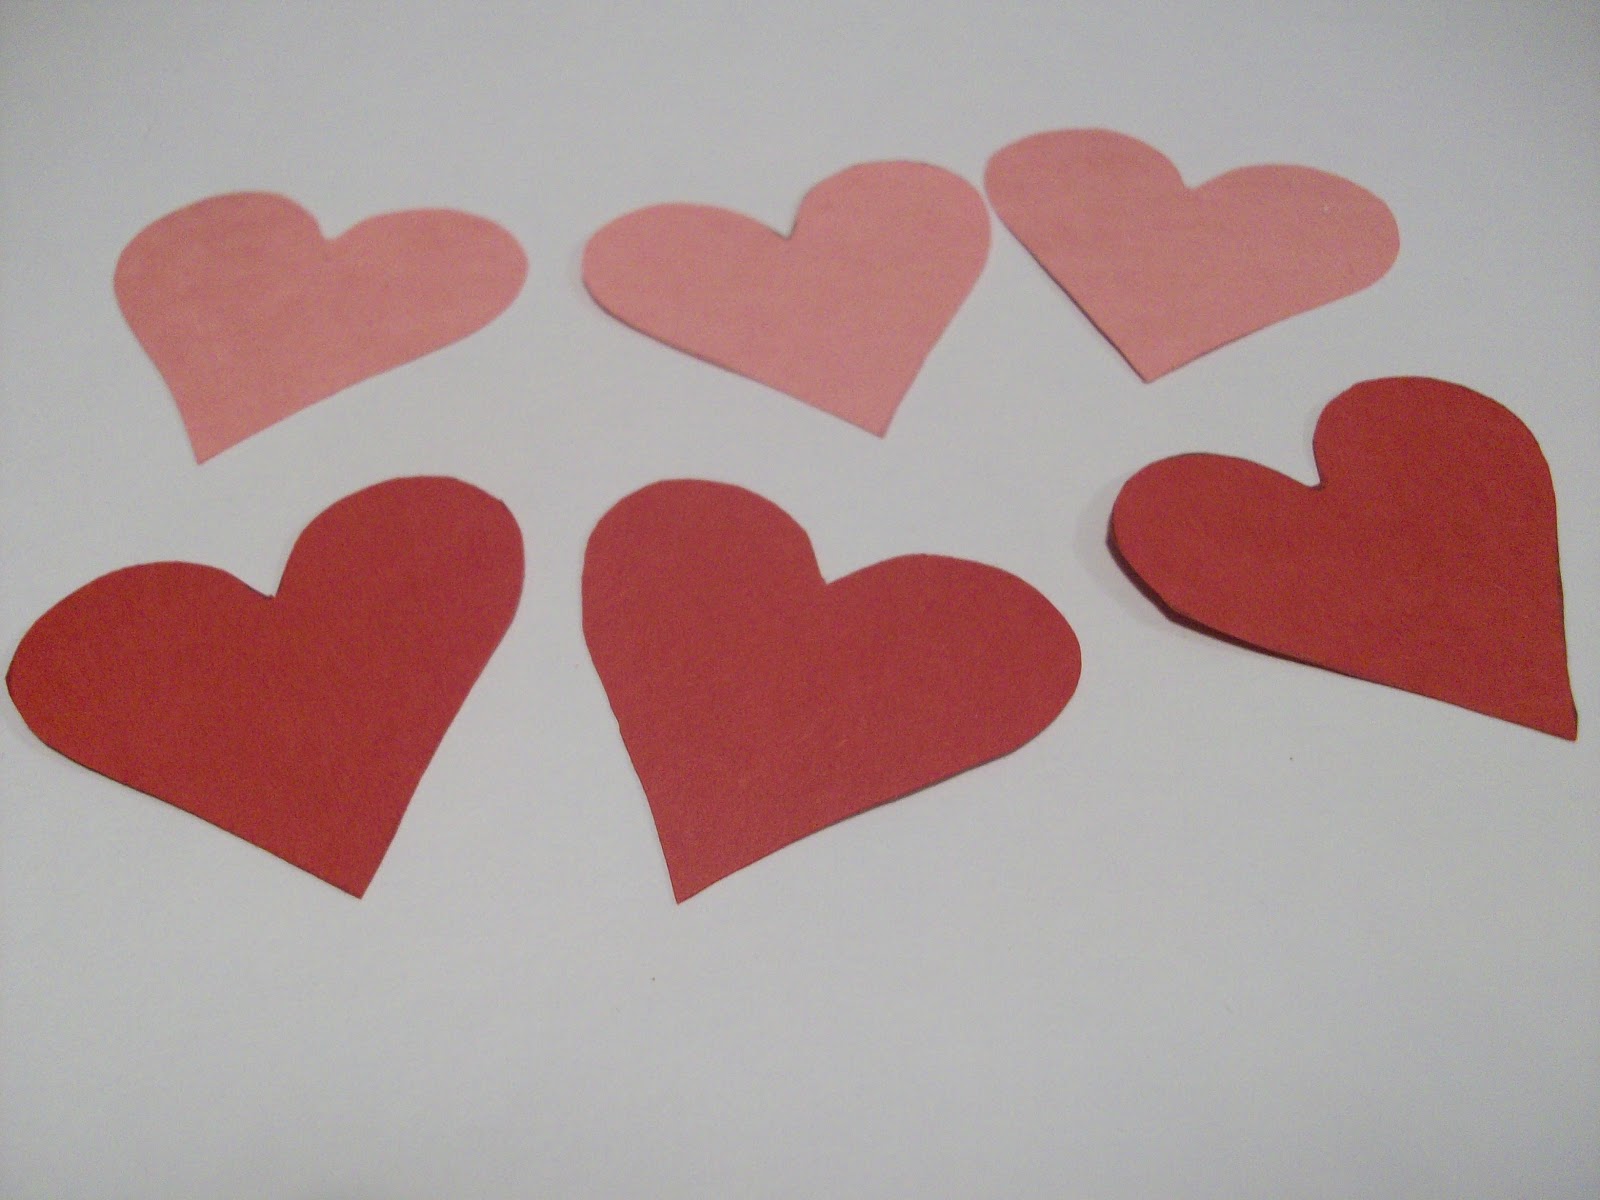
Trace hearts and cut out hearts or use a paper punch. I cut out ten of each color.

Punch hole at top and bottom of all the hearts.

Cut strips of construction paper. You can skip this step if you want to keep the embroidery hoop natural.
Cover embroidery hoops. I used tape to adhere the paper to the hoop.

Cut curling ribbon about 12 inches long. I cut six ribbons.

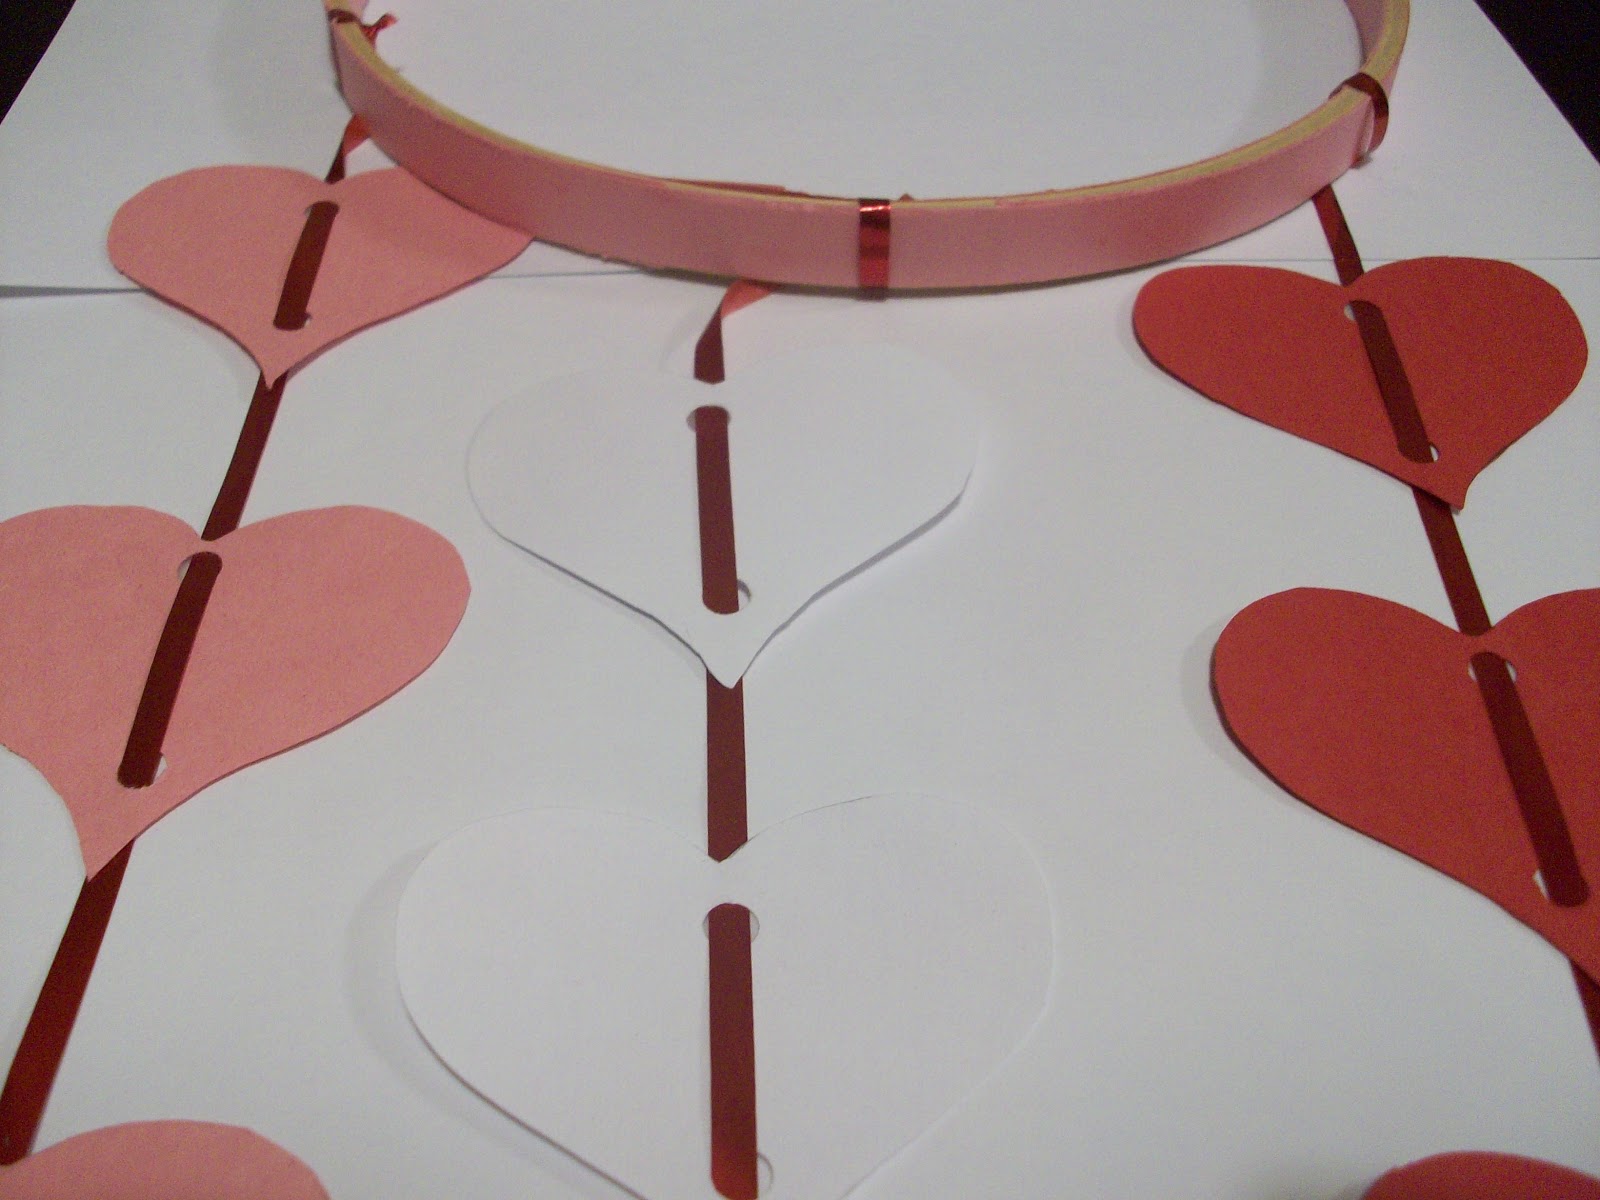
Knot curling ribbon around hoop. Thread hearts (or the shape you chose) onto curling ribbon. Tape back of heart (see next picture to see where to tape) so they do not slide. Space them about 1-1 1/2" apart. Keep threading hearts until all are on. I threaded 5 shapes on each string. Make a knot after the last heart on each string is threaded. Curl end of  ribbon.

Tape here on backside so heart does not slide. I would use clear tape so you can't see the tape, but I didn't have any on hand.

Cut ribbon long enough to hang mobile up. Knot around hoop. Then make knot on opposite side.

Hang up and enjoy!

Tortilla Cheddar Chicken

Tortilla Cheddar Chicken

Ingredients
1 6 ounce container of organic Greek yogurt
1 tablespoon snipped chives
2 teaspoons organic garlic paste
1/2 teaspoon ground ancho chile
1 pound boneless skinless chicken breast fillets (thinly sliced) (about 5 fillets)
1 cup finely crushed tortilla chips
1 cup cheddar jack or Mexican blend cheese
1 lime, cut into wedges

Directions
Gather ingredients.

Preheat oven to 425 degrees. Stir together yogurt, chives, garlic paste, and  ground ancho chile in shallow bowl.

In second bowl stir crush tortilla chips and cheese together.

Coat both sides of chicken fillet with yogurt mixture.

Coat both sides of chicken fillet with chip and cheese mixture. Press slightly so mixture adheres to chicken fillet.

Place chicken fillets in baking pan. Bake at 425 degrees for 11 to 13 minutes or until golden brown.
Serve with lime wedge to squeeze over chicken. I also served Mexican rice as a side dish.

Enjoy! Have a Great Cookin' Day!

Monday, February 4, 2013

Scrapbook Fridge Photo Magnets

If you are anything like me then your fridge is covered in photos, art work, and notes. In general my fridge always looks like a disorganized mess. The mess on my fridge is mostly picture postcards from family and friends that announce graduations, save the dates, new babies...you get the picture! I could have taken the easy way out and went to the store to buy ready to make photo frames, but I am determined to use up (but not just on this craft, that would be a lot of frames) the hundreds of scrapbook paper, stickers, and scrapbook chipboards I have just sitting in a box in our spare bedroom (I planned on scrapbooking but never actually got around to it). This was a pretty easy craft and I hope this helps the fridge look less cluttered because I plan on making more photo frames for different seasons and holidays. Since it so close to Valentines I chose scrapbook paper to match the holiday. Have fun creating your own fridge photo magnets! Have a Great Craftin' Day!

Fridge Photo Magnets:
Supplies Needed:
Scrapbook paper
Scrapbook chipboard letters, stickers, and other scrapbook decorations
Frame for template (I bought this one for $0.97)
Xacto knife (*Warning* Very sharp use with caution)
Pencil
Scrapbook paper glue
Magnet Strips (I got these at Hobby Lobby for $2.99 - my 40% coupon)
Scissors
Foam Board (again I got at Hobby Lobby)
Sandpaper  (not pictured)

Directions:

Gather supplies.
Pick scrapbook paper you want to use for frames.


Coordinate your decorations to your scrapbook paper.
Use frame as a template and trace pattern onto back of scrapbook paper.

Cut out frame. Tip to cut center: Make an X with Xacto knife then cut center.

Use frame to trace pattern onto foam board.
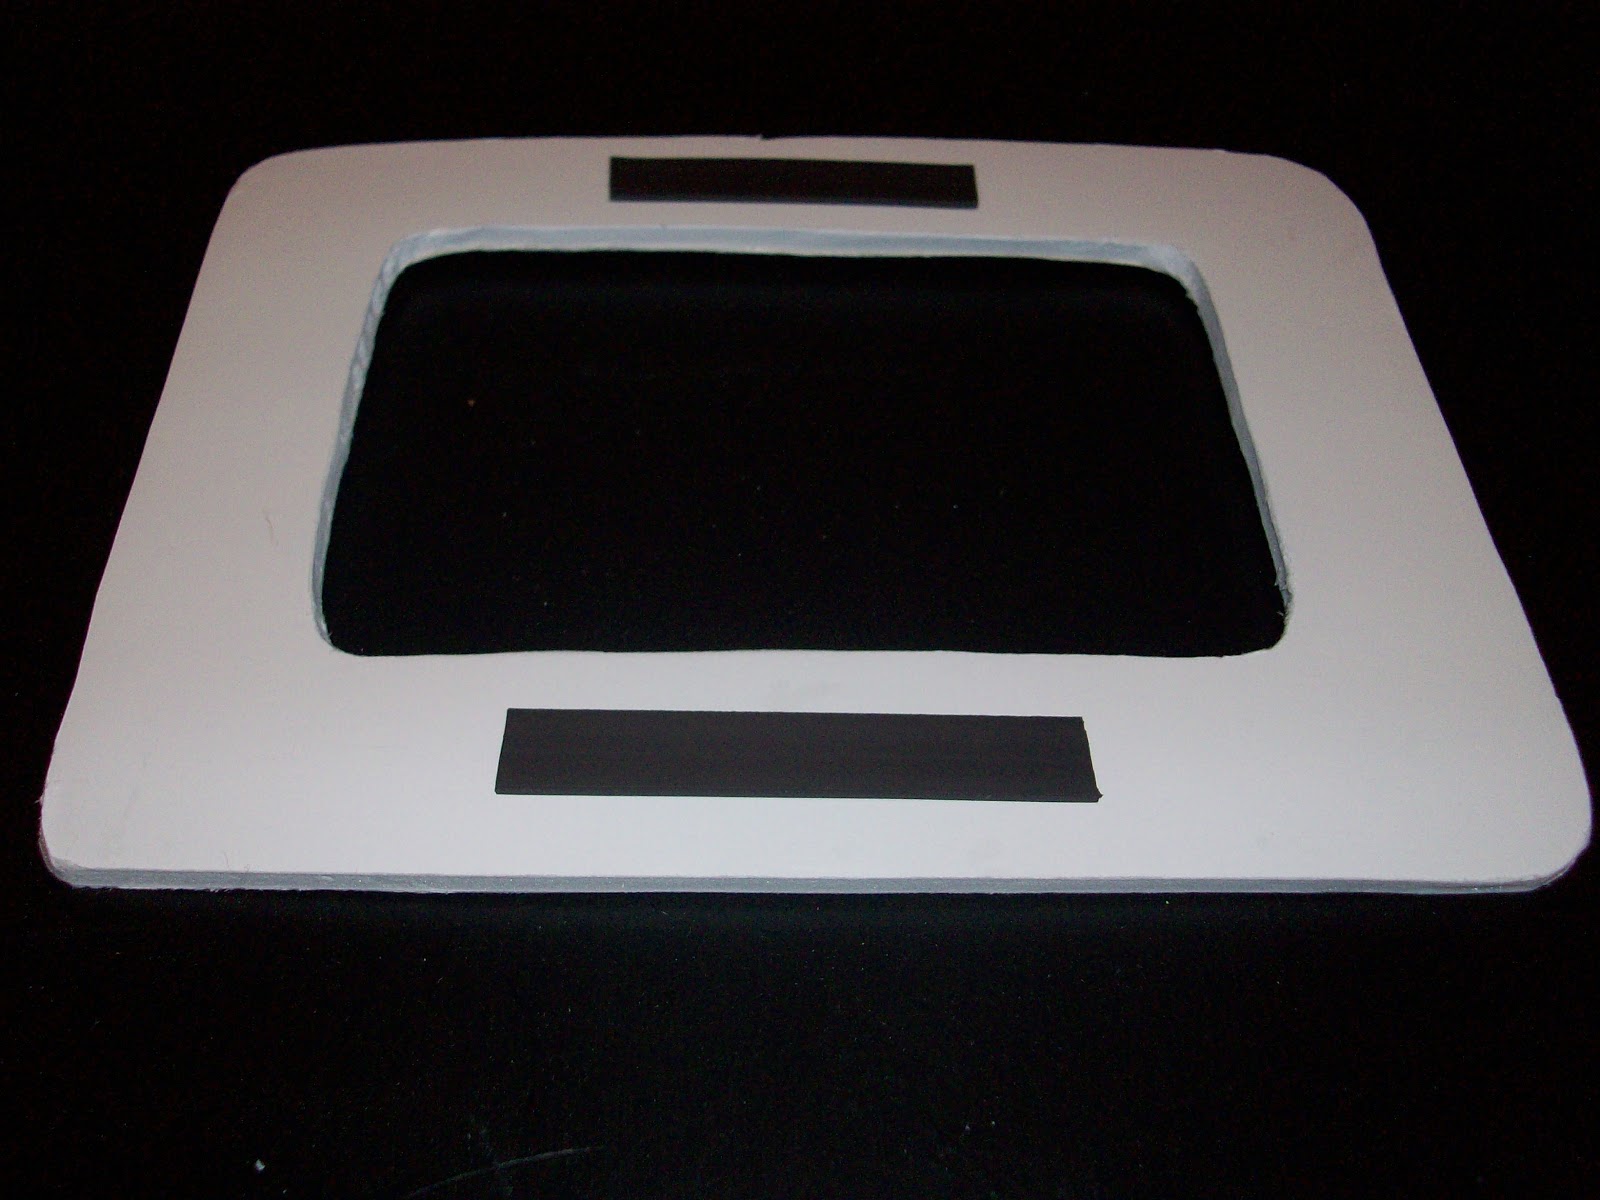
Use Xacto knife to cut frame from the foam board. Tip: Trace outline with Xacto knife around pattern, then go back around all the way through. Be careful with knife it is  very sharp. Do not worry about rough edges.


Glue paper to frame. Smooth out any bubbles. Let dry then trim excess edges. Do not worry about being exact.


Sand rough edges with sand paper.

Cut strips of magnets and attach to back of frame. I only put a magnet strip on top and bottom, but you can put them on all four sides.

The fun part...Decorating!

Hanging on the fridge (I cleaned my fridge off so no one would see my clutter).

Close up of completed frame.

This one I did not decorate, the roses were enough decoration!

Last frame I made.